Monday, June 19, 2017

KatScrappiness new stamps blog hop

Welcome!
Thank you so much for visiting my blog on today's 1st Celebration Blog hop for KatScrappiness.com. Today is so exciting! Not only will you be inspired by the designers projects along this hop, there is a lot of fantastic prizes to be won! 
You should have arrived here from Maria, but if I am your first stop you will find the full link up list at the end of this post or on Katscrappinessblog.com.


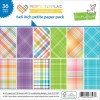
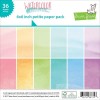
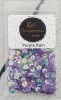
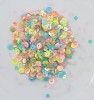
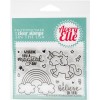
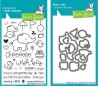
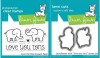
We are so excited to announce the addition of our first ever exclusive clear stamp sets! One that is perfect for interactive papercraft designs and one that is an adorable Giraffe! You will also catch a glimpse of some brand new dies and sequin embellishment mixes that are also exclusives. Check out all of the exclusive products at KatScrapiness.com


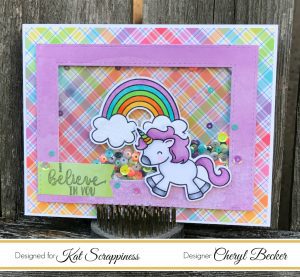
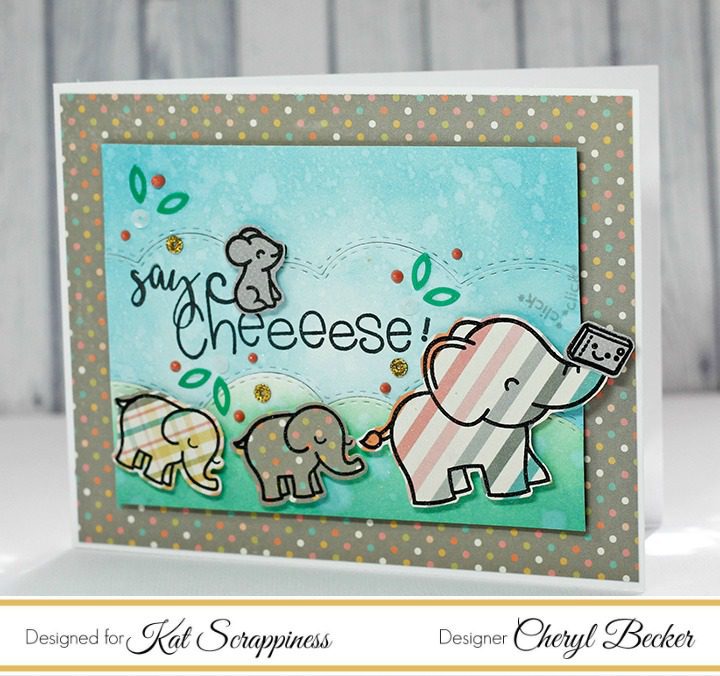
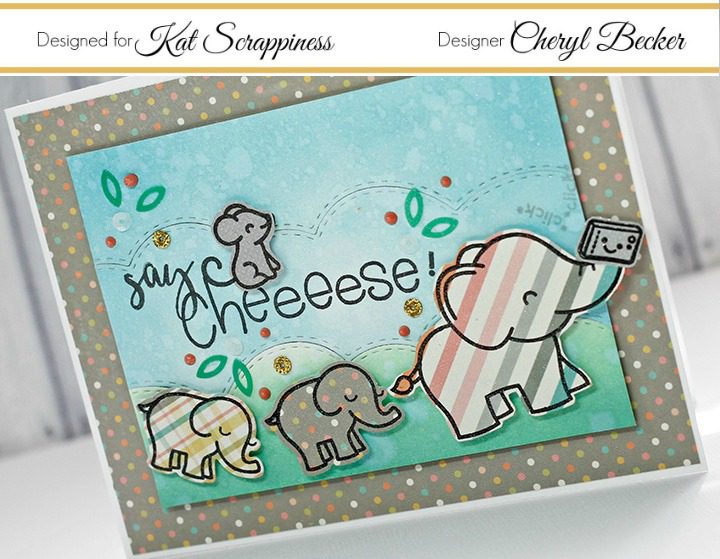
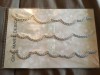
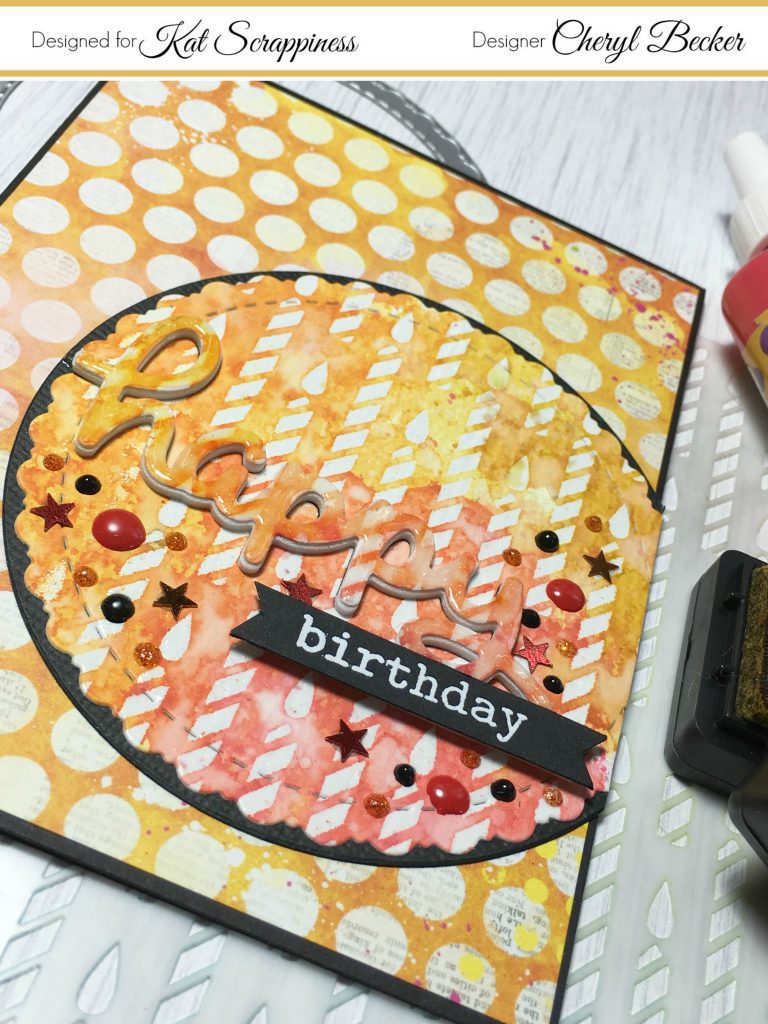
Here's the card I made using these products. Hope you enjoy!


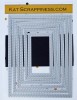
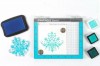
I used KS Double Stitched Rectangle dies and cut  the patterned paper. Then I cut a rectangle sized to show the sentiment underneath. I stamped the cute giraffe and colored with Distress Markers. I cut it out on my Brother Scan n Cut machine. I also used a few dies from my stash for the flowers and leaves. I added them with liquid glue and some foam squares. I added foam squares to the back of the giraffe and positioned over the channel for the sentiment.


See? How cute is that, when you pull the strip, you find the sentiment. The patterned paper is mounted with foam tape, making the right size channel for the paper strip to fit and still pull out easily. 


I hope you have been inspired by my project.  In order for your chance to win one of the brand new stamp sets or one of the three grand prizes you must comment on all the designers blogs and the Kat Scrappiness blog. That is over 10 chances to win! Winners will announced at 12 noon pst on 6/25/17, you have until 12:00 midnight pst Saturday 6/24/17 to enter!


Next person in the hop is Mona. Hop on over and see what’s next!

Here's your shopping list:

Here's the list from start to finish. Thanks for coming by! 
Happy Crafting!

Cheryl ~ You are here
 

Sunday, June 4, 2017

Unicorn Love...

Cheryl here, with a fun unicorn card. Recently I got some cute stamps of these, a little late to the party, lol. But I'm loving them. Let's check it out.
I stamped my images with Copic friendly ink, as I knew I'd be coloring them with those markers. Then I loaded them on my Brother Scan N Cut mat and cut them out with a small border. I proceeded to color them up.


I used KatScrappiness Double Stitched Rectangle dies and nested two together to create a frame. I used paper from Lawn Fawn called Watercolor Wishes Petite paper pad, sold in Kat's store. I added acetate to the back and ran two layers of foam tape around the sides. Chose a variety of sequins to make a shaker card. And then backed it with another piece of acetate. For me, doing that makes it easier to add to the card base, as it's easy to work it as the sequins are contained. I colored the images and added Spectrum Noir Sparkle brush over the hair and rainbow. I added Ranger Rock Candy Stickles to the clouds for sparkle.


Hard to pick up the sparkle without serious blowout on the acetate. Frustrates me, lol. I attached the shaker element to an A2 card base having added another paper from Lawn Fawn's Perfectly Plaid Rainbow Petite paper pad. I stamped the sentiment onto another piece of the Watercolor Wishes in green using a gray ink. Cut a flag end and added to the card front. Scattered a few sequins and glued them down.
And that's about it. I love all the fun bright colors in this paper! It makes for some really pretty cards. I hope you found a bit of inspiration and will get out your supplies and make some time for crafting. Thanks for coming by!
Here's a coupon code for some shopping in the KatScrappiness store. Use Cheryl10 for 10% off!

Save


Thursday, June 1, 2017

Say Cheese...


Hello!
Cheryl here, I have another DT project to share with you. Today I'm showcasing the Lawn Fawn stamp set from my DT package called Elphie Selfie. Soooo cute!!! I did a watercolor background using Distress Inks and used some cloud dies from Gina Marie Designs. I cut it apart and then from the back side put it back together with tape. I then attached some fun foam on the back for dimension.
I stamped the cute elephants onto fun pattern papers and cut out with the dies. The large elephant is from Elphie Selfie and the little ones are from Love You Tons. I wanted to create a birthday parade feel to the card.
I used foam squares to raise them up and make them look like trunks to tails, lol. I stamped the sentiment and perched the little mouse sitting on top. And of course, the camera held high to capture the perfect photo!  I stamped the little "click-click" by the camera and added some Kat Scrappiness sequins and Fabrika enamel drops. The panel was then attached to an A2 card base with some patterned paper. I think these little critter type stamps don't always have to be colored, I love them with fun patterns too! Try something different, you might like the look you get.
Here's a 10% code to Kat Scrappiness for your shopping pleasure! Thank Kat for that!!!
Cheryl10
So that's it. I hope you got a bit of inspiration from my card today. Pull out the things you have and have fun creating!
Happy Crafting!
https://static.inlinkz.com/ppr.js

Happy Birthday


Hi everyone!
Cheryl here, with a new DT post. I have a birthday card to share, so let's get to it!

I found a piece of polka dot paper in my stash and really wanted to use it. Came in a card kit, I believe, so I don't know who it's by, sorry. Kathleen sent me the stencil you see in the photo in my DT kit this month. So I white heat embossed it onto a piece of  Tim Holtz watercolor paper. I then got out my Distress Inks and went about to create a piece that would pull out some of the same colors as the patterned paper had. I believe it was Mustard Seed, Abandoned Coral, maybe some Worn Lipstick. Anyway, after it was dry I cut a piece of it using KS Stitched Fancy Scalloped Circle Dies. I got really brave and took the Lawn Fawn word die from my DT kit and cut it right out of that circle!!! Fingers were seriously crossed, lol. Anyway, I then cut the same word out of some white fun foam and glued the two together. I was sure to keep the tiny inside bits to put back in. I then mounted the scalloped piece to another circle slightly larger, cut out of  black cardstock.

I took the sentiment and using liquid glue, I put it back into place and added a bit of weight till dry. I also took those tiny bits and glued them back in place.
I took a black strip and stamped birthday and heat embossed with white embossing powder. I cut the ends into banner shapes and mounted with a bit of foam tape. I then pulled out some Fabrika Decoru enamel dot drops and some Nuvo enamel drops, along with a few stray star shaped sequins from my stash.
I mounted the circle piece to my patterned paper and trimmed off the excess. I mounted that to a black card base and attached a piece of white cardstock to the inside to be able to write a message. When the entire card was finished I took some Glossy Accents and totally covered the word happy. I love how it's so shiny!
So there you have it! A really fun card with a few different techniques. Watercolor, heat embossing, and some die cutting. I love that stencils are so affordable and can really give a fun look at very little cost. I'd love a bunch of background stamps but they aren't so cheap and stencils are, so I plan to add to my collection! Really, you can do more with them anyway, as to a stamp. Hope you got a bit of inspiration today.
Happy Crafting!
Save
Save

https://static.inlinkz.com/ppr.js