Monday, March 31, 2014

Happy Cards....

Ok, so I stumbled onto this cute set of cards in the My Scrap Chick store....and I had to make them all! Such fun designs, and using whatever papers you choose, they will all look different! A super blank canvas to start with, and adding your touches will make these different than mine, and different than anyone else!
Let your imagination go!!!

So, this post will be heave with pics, so I won't say much as to what I did, because I didn't do anything extra to them....just selected papers and color schemes that I like...and you can do the same thing! So, here are the pics of each individual card....change it up and make them your own!


I love this card!!! I love the design and I love how pretty it came out using patterned papers. Hard to see maybe, but each white dot has a white sequin glued in place. Added a bit of stitching, and that's it.


And another...bright and vivid colors! Added a couple of stick pins and punched out a butterfly.


And a super cute Thank You card. And again, there are sequins in the spots. Wrapped a bit of twine white gel pen accents. Popped up the strip with the sequins to add a bit of dimension.


I LOVE these colors....teal is my fave, and woodgrain teal...even better! Just a bit of doodling and sequins on this one as well.


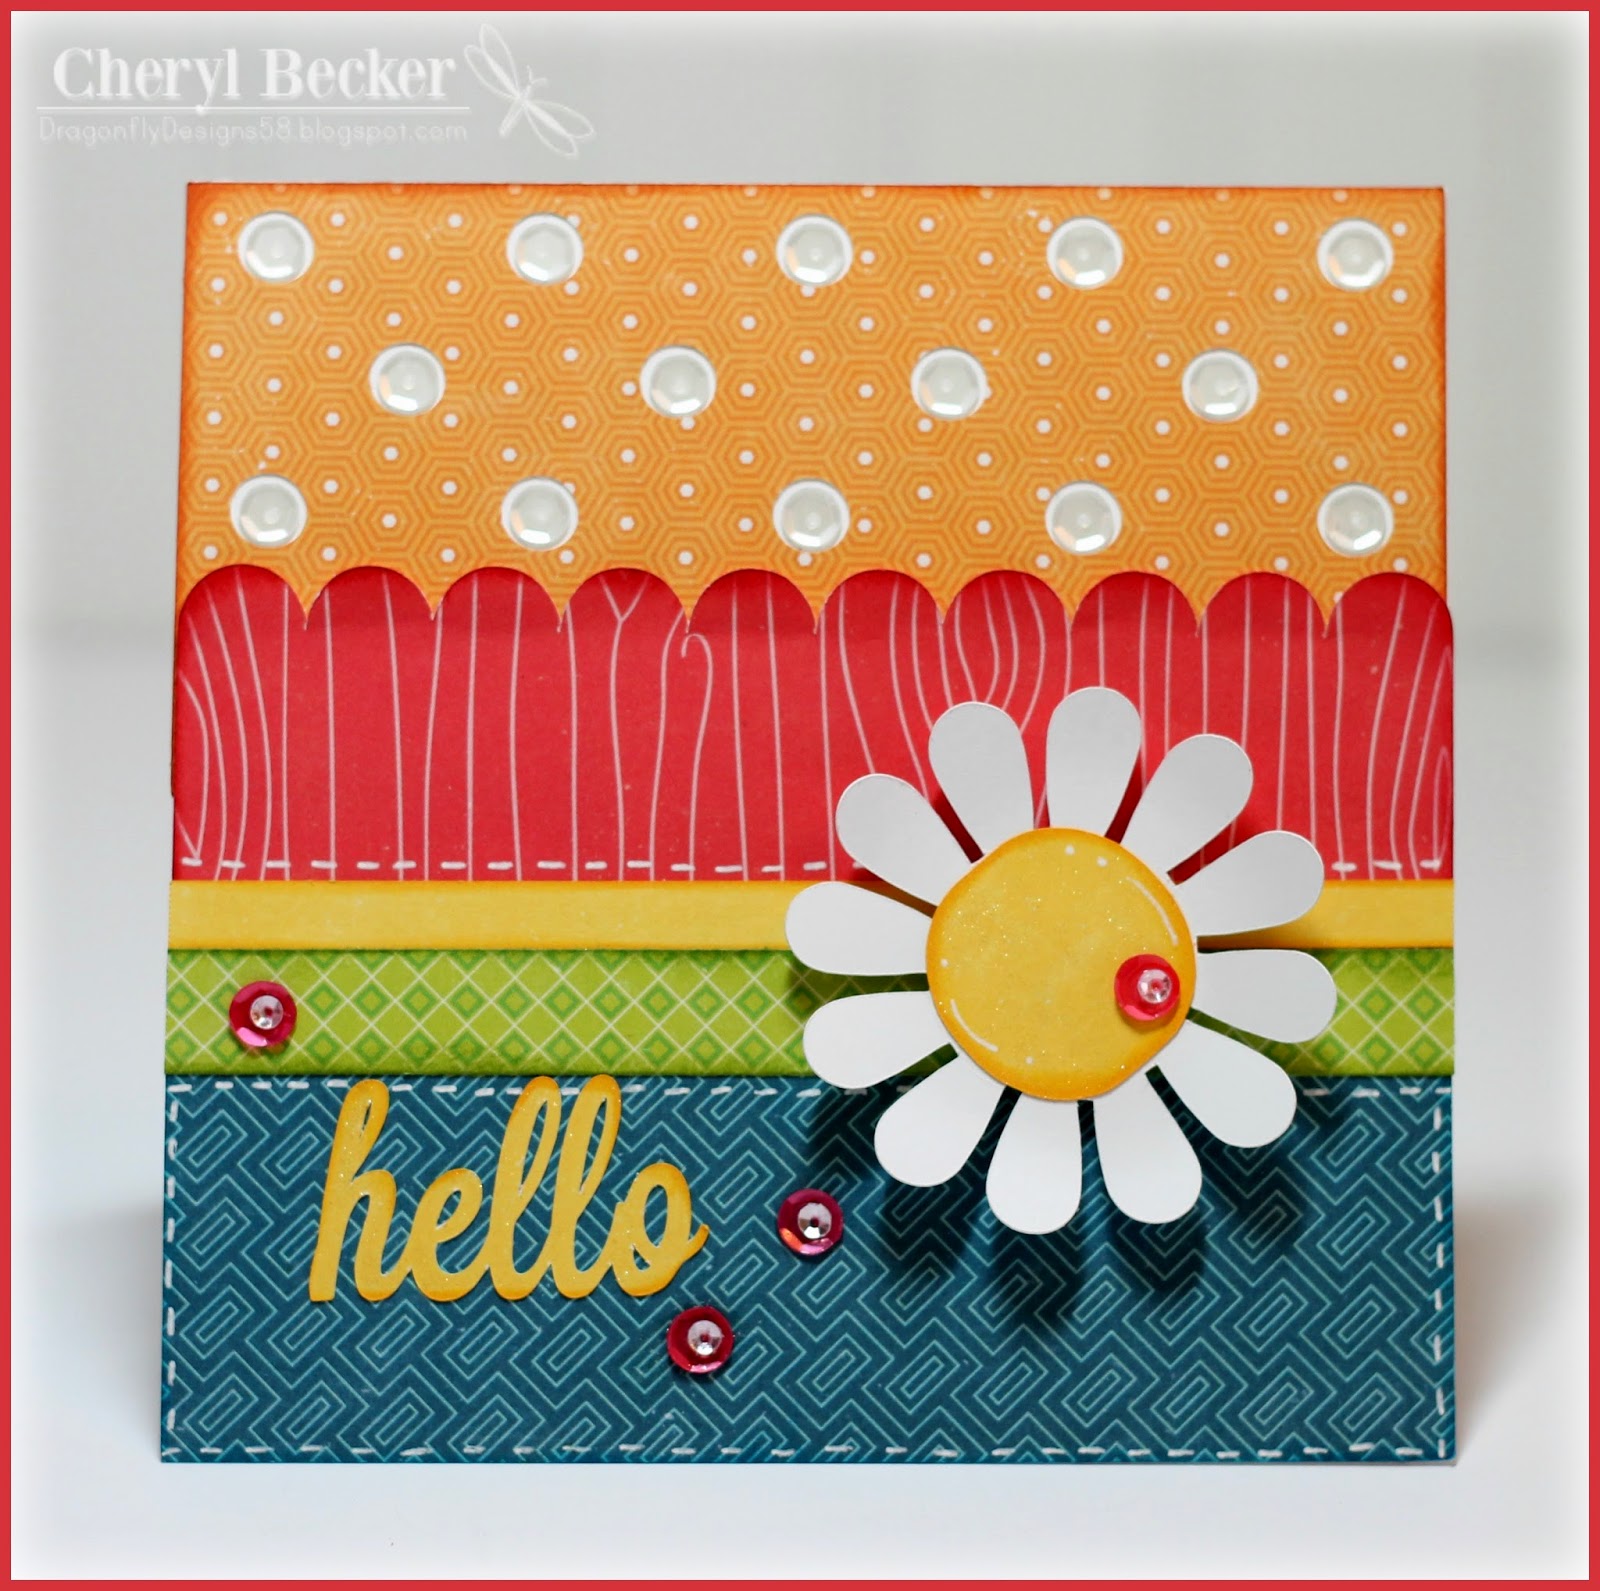
And all primary colors! I love how happy this card is! I am certain you will want to make all of these for yourself. What a great stash to have on hand when you have need for a quick card. You can change up the sentiments and it will be good for any occasion.


Hope you enjoyed these cards! I love snow....but am really ready for Spring...maybe that's why these were so much fun to put together. 

Have a great day of crafting!

Friday, March 28, 2014

Blog Hop Fun...


Welcome to the Fleurette Bloom-LoveBug Creations Co-Hop. 
If you've flown over from (insert name and link of person before you), then you've joined the parade, but if you've stumbled on this hop and want to begin with the first stop, soar over to Fleurette

The pairing of LBC's fantastic rumple ribbon and other trimmings with Fleurette Bloom's outstanding SVG's and digital delights is a great way to jazz up your projects - who wants to be ho-hum? 
Not us gals.........so grab your favorite beverage and settle back for some crafting inspiration 
for just the right touch of class
 
You should have arrived here from Kathy.

Hey...welcome to our fun Blog Hop with Lovebug Creations. We are sharing product and I used some really pretty ribbon from them. I love this Rumpled ribbon...it's so pretty. And the colors are very saturated and nice and rich in color. So, here's my card I made.


This cute little chick is in the Fleurette Bloom store. I sized it up quite large as I wanted the front of my card to be filled up with this adorable chick! I love the colors in this and I went on a search of my digital papers and found just the right collection! I love this color pallet!  I cut the mat, sized the face to fit, and then cut a plain frame the same size to put on the front. I printed a few of the face and then hand cut an extra ribbon and flower. I popped those up on dimensionals. 


I added white stitching lines with a gel pen, added some glitter along the brim, and added some enamel dots and sequins. I cut four pieces of the Rumpled Ribbon and made some corner accents by wrapping it around the corners. Taped it onto the back. Then I added foam tape to the back of the main element and added it to the front.


Then I took a good bit of the ribbon and cut short strips of it. Several actually. Then I took one more strip and tied it around all the others. To make a sort of bow...no loops, just strips. I actually like that look with the  of  Rumpled Ribbon. This must be fave color ever! I am soooo in love with teal! And it ended up being perfect to coordinate with the colors in this printed image. It just screams Spring and Easter. I hope you like it! Check out the store over at Lovebug Creations...some super cute things over there....LOVE the ribbons! 

So, here's what I used on this card.

Carta Bella Cool Summer

  Now, how about some blog candy??

 Fleurette Bloom is offering a $10 gift certificate to her ONLINE STORE
AND
  LoveBug Creations is offering a $10 gift certificate to their ONLINE STORE

So what do you have to do to be in the running???
1.  Become a follower of each crafter (if you're not already)
2. Leave a love note at each blog spot with your contact info
3. For extra chances to win like our Facebook Pages and leave a comment at

 Fleurette Bloom Designs
and
LoveBug Creations

4. Check back on Wednesday for the announcement of the winners.
Check out both of these online stores for my products, and I know you will find lots of other cute things....you know you need more stuff!!!

Check all the projects from these two design teams...you will get lots of inspiration!


Wednesday, March 26, 2014

And yet one more...

Sorry...I'm hooked! I love these little 4.25 x 4.25 cards. They are quick and easy, and will still fit a standard A2 envelope. I love them!

I started by cutting and scoring a 4.25 x 8.5 piece of cardstock and folding in half. Then I cut the top layer using a MCT die. Also used the little frame die that's in that set. I cut it in two colors so the center area was white...for the flower. 


I wrapped a bit of Rummpeled Ribbon from LoveBug Creations around the card, and tied several short pieces together to create a sort of bow.


Cut the flowers with a die from MCT, and the leaves as well. The sentiment is from Papertrey Ink. The background was created with a stamp set from MCT, too. Love those chevron stamps!
I added a pearl to the flower and the sentiment is heat embossed with white embossing powder. Attached using foam squares. Love the color combo of cantaloupe and navy!

Here's my supply list.


So...dig out your supplies and try out these smaller scale, super cute size cards! You'll get hooked, trust me!


Simple Square card...

I have been on a kick of making 4.25 x 4.25 square cards. It's nice cause they will fit in a standard A2 envelope, and still be something different. I love them! 

For this one, I used a die from My Creative Time. It is 4x4. I put it on a 4.25 x 4.25 card base, and rounded the corners. Then I layered to hearts from Simon Says Stamp together with foam dimensionals. I had stamped the sentiment and heat embossed with white embossing powder. That stamp is also from MCT.


I tied a bit of white/gold twine into a bow and added some small black pearls. 


I also cut a square to 3.75 x 3.75 and rounded those corners as well. Layered all together, I think it's a very pretty card. One that could be for anytime, not just Valentines Day...lol.

Here's where you can get these products.


Saturday, March 22, 2014

First Day Of Spring...

So, it's the first day of Spring as I write this post. So, I had to do something Springy! I made a super cute tag for Easter. You could tie it on a bag of goodies, an Easter basket, or you could even add it to the front of a card.


Isn't it cute?! I love the sherbet color pallet! My fave papers for Spring. It is a digital set from Jessica Sprague by Design by Dani called Easter Best. I love it so much! Anyway I filled the separate images with papers from that collection. Printed and then cut with my Silhouette Cameo.


I inked all the edges, added white gel pen accents, and adhered with foam dimensionals for depth. See that shimmer on the eggs? I love my Wink of Stella glitter brush...I use it on almost anything and everything. Available at Simon Says Stamp. For the eggs, I created a shadow layer, glued to the edge of the tag, and then added the top layer of eggs with a foam square.


I think this chick is just so cute peeking out of this cracked egg! I stamped the face with a Peachy Keen face stamp instead of the teeny tiny pieces that would be cut. I threaded some hemp string through a hole I punched through all layers with a tiny hole punch. I also tied some on a button and used hot glue to attach it. The simple flag was cut on my trimmer and the flag end was hand cut. I stamped a simple sentiment, and called this one done. Oh...only after Wink of Stella on the sentiment too, lol!

So, head on over to My Scrap Chick and pick up the kits needed to create a tag like this of your own. 

Easter Chicks ~ Egg only
Wink of Stella ~ Simon Says Stamp


Monday, March 17, 2014

Koi Cuteness...

I had wanted to do something with this koi file for a while now. Finally got around to it, lol. Anyway, Fleurette has this in her store so I pulled out some papers that are bright and appropriate for these fish. I like the bright colors that many of them have. 


I first put all the layers of the fish where they belong and then created a shadow layer. I welded that to the edge of the card and then sized it so when folded it would be and A2 size. I pulled out some pretty paper and adhered that to the inside so the bottom edge had some color and wasn't just white. So hard to get a good pic of shimmer and glitter, but I used my Wink of Stella glitter brush on the fins and seaweed but doesn't show :(


I love how the scales flip up, adds that extra texture. I picked out some opalescent sequins out of my stash and glued them to down to resemble bubbles from the fishes mouth. Most of the layers have foam adhesive under to pop them up a bit...again, for added interest. Inking of the edges helps a lot too.


Here's a peek at the inside. I added a plain white mat to write on, but the patterned paper shows when the card is closed.

So, there you have it. I hope you liked my card for today. Head over to Fleurette Bloom and look at the cool files she has in her store. I know you will find a lot you'll want to have!


Shaker Card....

Just a quick shaker card today. I used some My Creative Time products on this one.


Here it is. I used the Vintage Label Die to cut the opening in the front of my card. I layered my pattern paper on 110 lb cardstock from Michaels. Makes it nice a thick. The acetate is sandwiched between the two. I used two layers of foam adhesive all around that opening. Then I carefully dusted on some baby powder with a small brush to the sides of that foam adhesive. In the past I have had issues with the sequins sticking on those sides.....HATE that! This prevents that problem. I then filled the opening with my sequins and applied the back piece. Sequins contained! lol


I used the clouds from Come Fly Away With Me and the label comes with the Vintage Label Die. The stamp is Simon Says. I used the sun element from Echo Park's new release, Splendid Sunshine. The butterflies are a Martha Stewart punch. I wrapped some twine and used hot glue to adhere the button.

This card will probably need a padded envelope and extra postage as it's quite thick and a bit heavy.
I love the bright sequins and this would be a super fun birthday card. In fact, the sentiment stamped inside says that very thing. 

Thanks for coming by today! Happy Crafting 


Saturday, March 15, 2014

Door Hanger Tags...

My Scrap Chick just came out with some door hanger tags...yea! They even have a pocket on the front for a sweet note, or gift card, or a photo. Super cute. So I set out to make some for a few different seasons/occasions to give you a bit of an idea. So, let's get started!


Here is the first door tag I made. It is designed for hanging on the door knob of that special birthday boy! I kept the pocket on the front of this one, as though the monster is coming out of hiding. Quite straight forward actually. I added the speech bubble, some twine, and a button. Did some doodling with my white gel pen, and added Glossy Accents to the eye ball.


You can see a bit of the gloss on the eye. I also did lots of inking to the edges. Super cute...any birthday child would love this hanging on their door! For the tag, I chose a font on my computer and just added it to the tag in the Silhouette cutting program, and chose no cut for it, so it would only print.

The next tag I made is for the Irish amongst us...Happy St. Patty's Day! Love me some good Celtic music, lol!


Here again, I left the pocket and have the bear coming out. I used some cute digital papers, and like before, added lots of inking. Tied some twine, added some gold "coin" sequins, and white gel pen accents.


I went of the eyes with a black gel pen to make them a bit glossier. Colored in the whites with a gel pen. 


Super cute, huh?! The luck of the Irish to ya!

And for my last tag, I made for Spring.


How cute! I picked some pretty Spring patterns and I LOVE how this came out! I paper pieced the egg, and inked them up. Added them on dimensional adhesive. 


Love the sequins scattered around...love me some sequins! I added pearls for the eyes. Not seen so great, but there is some glitter on them there eggs, lol. 


Picked out a Spring title and layered it with dimensionals and added glitter all over the sentiment. Gives it a bit of a pow!

Here is a photo of all three together.


Now, I have just shared a few ideas...you can come up with a ton more, I am sure! How cute hanging on a bottle of  bubbly, or some nice bubble bath, or your favorite lotion. Great way to jazz up any gift. I'd love to see what you do with these! 

Now, on to what I used to make these.

Door Hanger ~ Free in the latest newsletter
Lucky Rainbow Bears ~ Lucky & Hair Bow
Horse Trio ~ Horse Shoe
Fleurette Bloom ~ Digital Papers

So, if you  haven't already....sign up for the newsletter to get your free door hanger! And then you can set out to design them however you'd like. We'd love to see what you make!

Thanks for coming by, and I hope you got a bit of inspiration.

Friday, March 7, 2014

Hog Wild...

Hey guys...got another card for you today. I used the cute pig file from Fleurette Bloom. I think it is just adorable! I have looked at this for awhile now, but didn't want to make a traditional pink pig. So I browsed through my digital paper files and found some I really liked, I hope you do too.


So, this is a 5x7 card. I was going to make it a shaped card, then changed my mind, so it had to be this size. But, hey...sometimes you want big! I filled the images with my patterned papers, and then created a shadow layer...in the teal color. I added the bow from the Silhouette store. The label is also from there. The ears, eyes, and nose are added with foam squares. I used my Wink of Stella glitter brush on the nose and ears to add a bit of glitter. Also added a bit of white gel pen doodles.


 So...if you look closely you can see the bit of glitter to the nose and ears. For the eyes, I only cut a solid image and used my gel pen for the whites. Sometimes it looks better if the cuts are very tiny...gets a bit jagged sometimes.

 How cute is this face?! See the blush on her cheeks? A bit of chalk on a cotton ball. You can see the bow is a "loop" layer on top of a "tails" layer. Hard to see, but there is another shadow layer in the teal. Also a bit of Wink of Stella on the center. I think that the patterned papers really gave the "cutesy" look I was after. Who says a pig always has to be pink, anyway?!

Here's what I used on this card.


Have fun getting your craft on!


Thursday, March 6, 2014

Treat dispenser box...

So...I am loving the files from My Scrap Chick! I especially love the belly boxes. But I also like the dispenser box....so, combine them! That's just what I did! I enlarged the box to fit on a 12x12 mat and then sized the lamb parts accordingly. I love how it came out, and will def be making more of these! How cute to put some Easter candy in here for the kiddos?!


Now tell me that isn't the cutest face ever?! I did lots of inking and white gel marks for accents. Heck, I even think the eyes came out cute for my first ones! I printed some digital papers and added the accent panels to the sides and top of the box.


Then I took wire, made a curly q on the ends and used hot glue to adhere it to the sides of the box. I tied some twine on a button and hot glued that on to hide the wire end. Yep...super happy with how this came out. Hope you like it  too!

Saturday, March 1, 2014

Happy Birthday Treat Box....

I am so super excited!!! This is my first post as a new designer over at My Scrap Chick! I LOVE all the cuteness in these files and they are right up my alley! Sometimes we get into a rut and forget about all the cute stuff we have in our stashes. I have so many files from MSC and have neglected them for too long. Not any more, though! So, here's a cute treat box you could design for any purpose.


Isn't he the cutest?! In my Silhouette software, I made another copy of the box...used the internal offset. I filled that with patterned paper. Then when I went to assemble to box, I cut apart the patterned paper one and those are the panels on the front of the box. I inked up the edges and simply glued it right on. 
I got a bit of wire out of my stash, wrapped it around a pencil to curl it, stretched it out a bit, and used strong adhesive...ScorTape...to adhere the wire to the inside wall of the box. 


For the cute candle, I laid it all out on my mat how I wanted it to be, then made a shadow layer. When going to put it together, it's sorta like doing a puzzle and you have a nice black mat to make it really pop. I did use dimensional adhesive on the patterned part, to pop it up off the black. Then I added more dimensional adhesive to the entire piece and adhered it to the front of the box. 
I added Stickles to the white layer and I used my Wink Of Stella glitter brush on the flames. I added some glossy accents to the eyes to make them shiny. Hard to see in a pic, but it makes them look much nicer! Gives it just that extra something.


For the flag, I simply stamped my sentiment in Versamark ink and used white embossing powder. I scored and folded just enough to go over the wire. I inked the edges and added a few white gel pen dots. 

I hope you like this cute little guy...who wouldn't want this filled with some goodies on their special day?! You could customize this for any occasion. So let's see what I used for this.


There you have it. Get out your digital files and create something like this for your next special occasion. Watch for lots more posts using cute files from My Scrap Chick! So happy to be a part of this design team! Happy crafting!