Thursday, June 1, 2017

Say Cheese...


Hello!
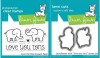
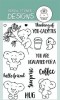
Cheryl here, I have another DT project to share with you. Today I'm showcasing the Lawn Fawn stamp set from my DT package called Elphie Selfie. Soooo cute!!! I did a watercolor background using Distress Inks and used some cloud dies from Gina Marie Designs. I cut it apart and then from the back side put it back together with tape. I then attached some fun foam on the back for dimension.
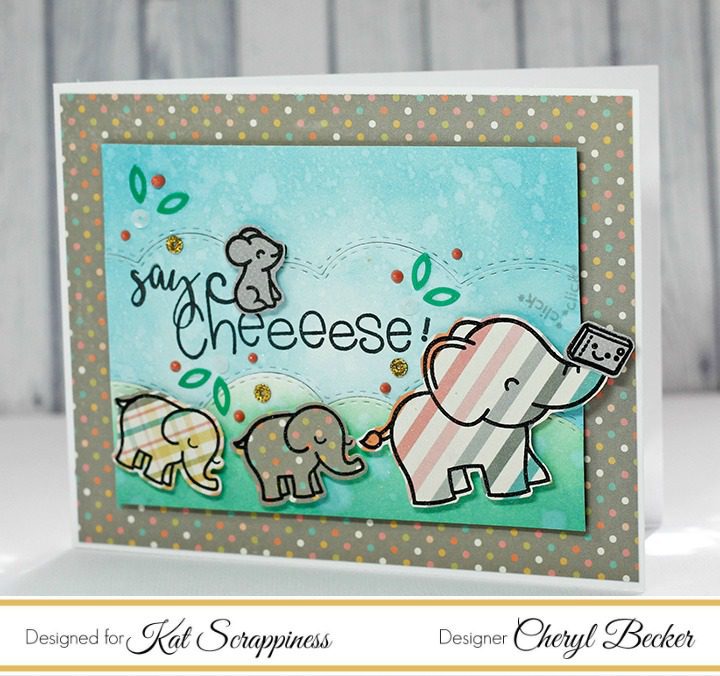
I stamped the cute elephants onto fun pattern papers and cut out with the dies. The large elephant is from Elphie Selfie and the little ones are from Love You Tons. I wanted to create a birthday parade feel to the card.
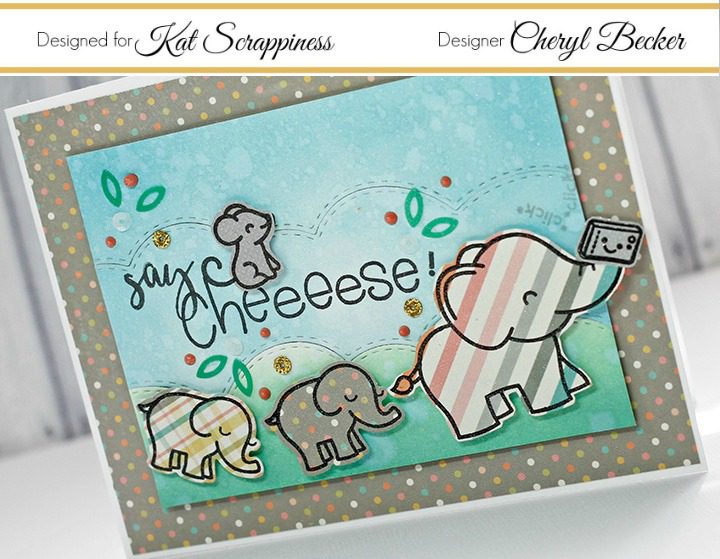
I used foam squares to raise them up and make them look like trunks to tails, lol. I stamped the sentiment and perched the little mouse sitting on top. And of course, the camera held high to capture the perfect photo!  I stamped the little "click-click" by the camera and added some Kat Scrappiness sequins and Fabrika enamel drops. The panel was then attached to an A2 card base with some patterned paper. I think these little critter type stamps don't always have to be colored, I love them with fun patterns too! Try something different, you might like the look you get.
Here's a 10% code to Kat Scrappiness for your shopping pleasure! Thank Kat for that!!!
Cheryl10
So that's it. I hope you got a bit of inspiration from my card today. Pull out the things you have and have fun creating!
Happy Crafting!
https://static.inlinkz.com/ppr.js
Happy Birthday


Hi everyone!
Cheryl here, with a new DT post. I have a birthday card to share, so let's get to it!

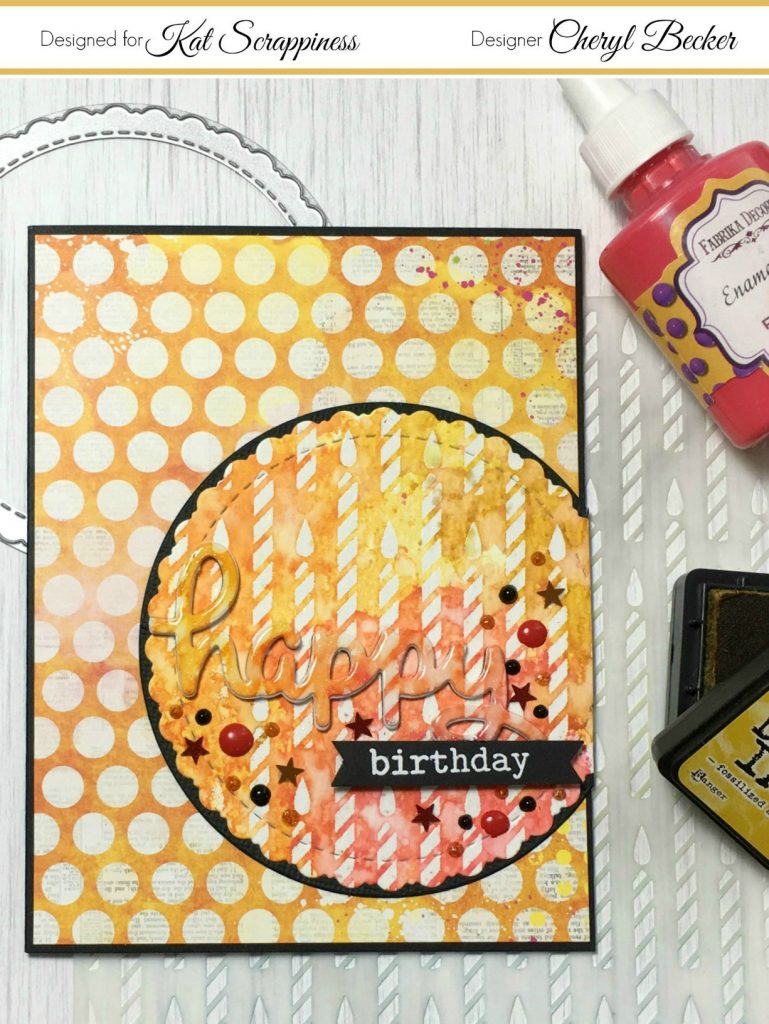
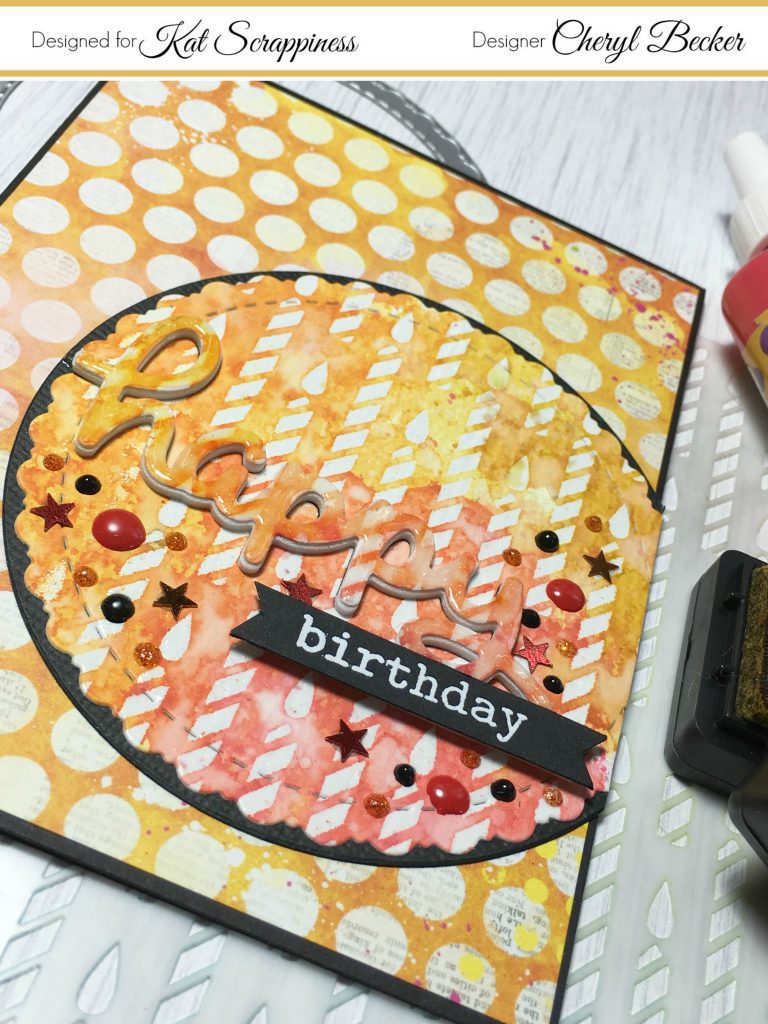
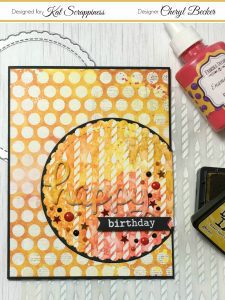
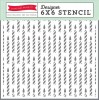
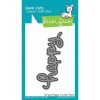
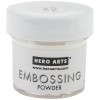
I found a piece of polka dot paper in my stash and really wanted to use it. Came in a card kit, I believe, so I don't know who it's by, sorry. Kathleen sent me the stencil you see in the photo in my DT kit this month. So I white heat embossed it onto a piece of  Tim Holtz watercolor paper. I then got out my Distress Inks and went about to create a piece that would pull out some of the same colors as the patterned paper had. I believe it was Mustard Seed, Abandoned Coral, maybe some Worn Lipstick. Anyway, after it was dry I cut a piece of it using KS Stitched Fancy Scalloped Circle Dies. I got really brave and took the Lawn Fawn word die from my DT kit and cut it right out of that circle!!! Fingers were seriously crossed, lol. Anyway, I then cut the same word out of some white fun foam and glued the two together. I was sure to keep the tiny inside bits to put back in. I then mounted the scalloped piece to another circle slightly larger, cut out of  black cardstock.

I took the sentiment and using liquid glue, I put it back into place and added a bit of weight till dry. I also took those tiny bits and glued them back in place.
I took a black strip and stamped birthday and heat embossed with white embossing powder. I cut the ends into banner shapes and mounted with a bit of foam tape. I then pulled out some Fabrika Decoru enamel dot drops and some Nuvo enamel drops, along with a few stray star shaped sequins from my stash.
I mounted the circle piece to my patterned paper and trimmed off the excess. I mounted that to a black card base and attached a piece of white cardstock to the inside to be able to write a message. When the entire card was finished I took some Glossy Accents and totally covered the word happy. I love how it's so shiny!
So there you have it! A really fun card with a few different techniques. Watercolor, heat embossing, and some die cutting. I love that stencils are so affordable and can really give a fun look at very little cost. I'd love a bunch of background stamps but they aren't so cheap and stencils are, so I plan to add to my collection! Really, you can do more with them anyway, as to a stamp. Hope you got a bit of inspiration today.
Happy Crafting!
Save
Save

https://static.inlinkz.com/ppr.js
Thursday, May 11, 2017

You Are The Best


Hey there, crafters! Cheryl here.
I have always this turtle image and haven't ever played with it. So glad I did!
I started by stamping a full background of turtles onto watercolor cardstock. I then pulled out my Zig Clean Color markers and set about coloring the images. I then took blue and created some water background. I also stamped some of the bubbles and added Glossy Accents over the tops to make it look like real water.

I stamped one other turtle and fussy cut it out. I attached it to the card front directly over top of another one, using an Action Wobbler. So fun to see it shake about! And how much cuter it is with those google eyes! 

I stamped out a sentiment onto black cardstock and embossed it with white embossing powder. I popped it up with foam tape. Grabbed some sequins from my stash and glued them on using Ranger Multi Matte adhesive. I also added a few Nuvo enamel dots. 

This card was fun to color and to put together. Love this turtle! Hope you got a bit of inspiration. Get out your toys and play!

Happy Crafting!


Coffee & Donuts...

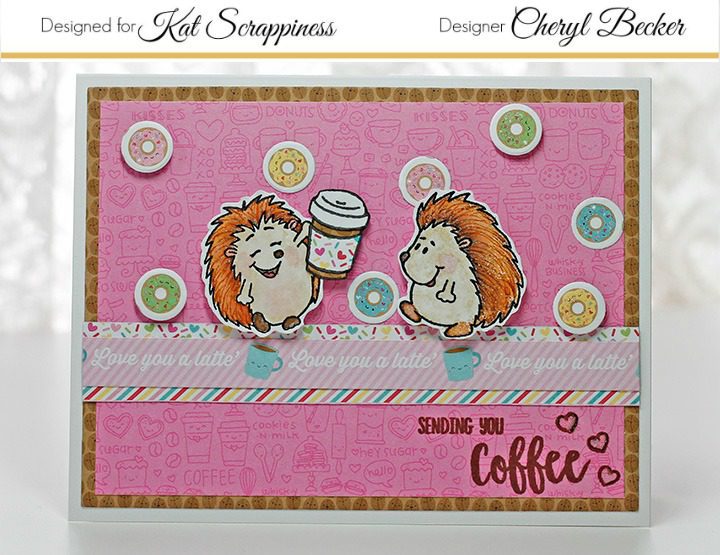
Hi everyone, Cheryl here, with another project to share. Ever hit a brick wall in crafting? That was my week! Every thing I tried to  make didn't work, fought me every step of the way! Lol, finally just had to push through.
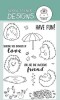
 I ran out of time and had to go with what I had, and this is it. Who doesn't love coffee and donuts? I chose this stamp set from Gerda Steiner Designs and colored it using my Zig markers. I added a bit of highlights to the "hair" with a sparkle pen. I fussy cut them out.
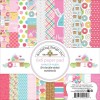
I chose the paper pad from Doodlebug called Cream & Sugar. Sooo cute! One of the papers is all strips so I picked a few and made an element of a few of them. I cut the coffee bean paper down to 5.25 x 4. and the pink layer is 5.o x 3.75. I layered them together and ran the strip element up from the bottom edge a bit. I popped up the two hedgehogs on foam squares and the coffee cup.
I then used a small circle die and cut out several of the little donuts from another paper from the pad. A few I popped up and a few I left flat on. I brushed them with a bit of  Spectrum Noir sparkle brush. For the coffee cup, I stamped it on different papers and cut apart to paper piece it.
I selected sentiments from two different Gerda Steiner stamp sets. Stamped it out in a dark brown ink. And added some cute stamped hearts, too. Like...Sending you Coffee Love...lol!
So, that's about it. Pretty easy, actually. And anyone can send me some coffee and donuts anytime! Hope you got a bit of inspiration, even though there are three cards laying on my desk that butted heads with me...and this one was a fight too. Oh well, we all have those days, I guess! Get out your fun things and craft something!
Cheryl
https://static.inlinkz.com/ppr.js
Wish Big...

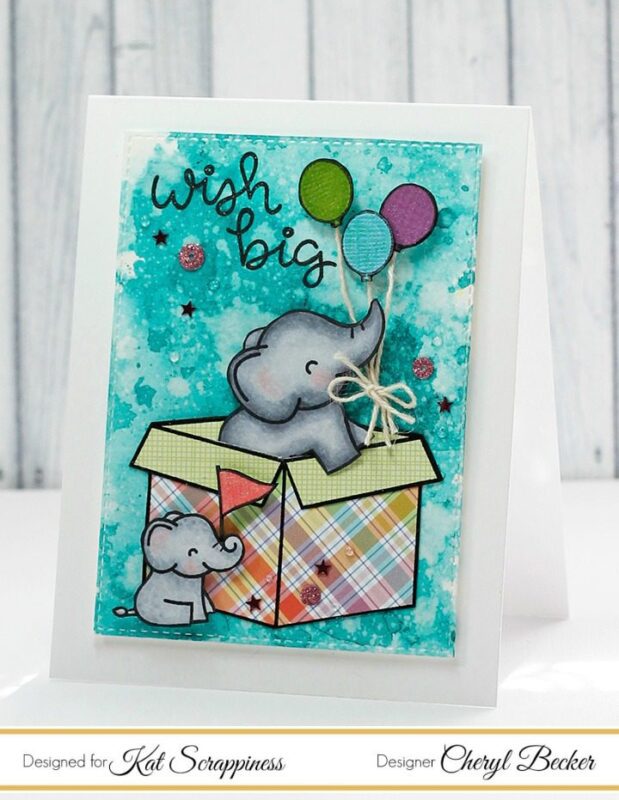
Cheryl here today with another card project to share. We all love the cute critters in Lawn Fawn stamp sets. Adorable! I had an opportunity to work with the Elphie Selphie stamp set. How cute is this set? Here's what I did with it.
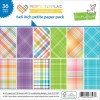
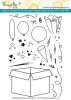
I stamped out the box from a stamp set from Honey Bee Stamps called Celebration Box. I stamped it on paper from Lawn Fawn's Perfectly Plaid Rainbow paper pad, and a scrap I had that matched for the flaps. I also stamped it on plain white cardstock. I cut the box base from one and the flaps from another and then glued them to the plain white piece. I cut along the lines to be able to have the elephant appear to be coming out of the box. So cute! I stamped the elephants and colored with my Copic markers. I stamped the flag and balloons onto some colored scraps and fussy cut them out. I popped up with foam squares and added some twine to the backs and tied with a bow.
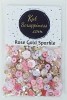
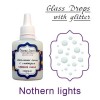
I found a piece of watercolored cardstock I had created one day just playing around. I liked the colors for this and used a Kat Scrappiness Rectangle die to cut it out. I stamped the sentiment and added some glitter pen accents by tracing over it. I then added the elephant into the box and glued it down to the base. I used a foam square behind the elephant's head for dimension. And the adorable baby was added with foam squares as well. Finally, I added the balloons in place and a bit of glue behind the bow. I added some bling with a Kat Scrappiness sequin mix. Also added some Fabrika enamel dots in Northern Lights, and a few stars from my stash. The entire panel was then mounted with foam tape to an A2 card base of 110 lb Neenah Solar White cardstock.
So there you have it. A super cute card using a variety of supplies. Go through what you have, mix and match, and have fun playing! That's what it's all about.
Happy Crafting
https://static.inlinkz.com/ppr.js