Wednesday, April 12, 2017


Bloomin Spring Clear Stamp New Release Hop

Bloomin Spring New Release Hop
Starts Thursday, April 13th

Welcome to the FBstamps Bloomin Spring Hop! 

Hop along with us as we show you some beautiful crafty projects!
(scroll all the way down to see the Line Up)

Prizes! 
&
Inspiration Using our New May Release!

How to enter to win a prize

* Hop along from blog to blog (5 total)
 * Leave a comment on each blog
* Subscribe to each blog
That's it, and you will be entered to win! 
One Winner will win the Grand Prize 
A $25.00 Gift Certificate to FBstamps.com
To win the grand prize you must leave a comment on each blog
and subscribe to each blog.  
Plus 😀
Each blog will draw one winner to to win one of FBstamps.com Designer Sequin Mixes
(All Winners to be announced Sunday April 23rd)
Have fun and enjoy all the crafty inspiration! 
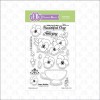
Check out our April New Release 
Pansies &  Rain Or Shine
Bundle Special Available for a limited time. 
 Click on images to enlarge
Plus our Newest Sequin Mixes
Enchanted Rose and Beauty & the Beast

Here is the Line Up
Be sure to go to each blog and comment & subscribe to enter to win.
Hello everyone! 
Cheryl here.
Thanks for coming by for the blog hop for FBStamps newest release. I know you'll love all the projects you see. So lets get started, shall we?


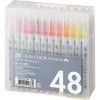
I stamped out the pansy images and heat embossed with platinum embossing powder. I pulled out some Zig Clean Color Real Brush markers to do my coloring. I then fussy cut them out. Not hard to do all.
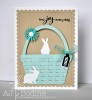
I found some patterned paper in my stash and cut a background using a Kat Scrappiness die. I then cut a basket using a Gina Marie die. Love this die!!! It's in two pieces and you do the old time paper weaving to get this basket look. I added foam to the backs of the flowers and arranged as I liked them.


I stamped the sentiment in same green as the card base and embossed with white embossing powder. Added foam tape to the back for added dimension.
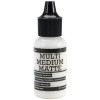
Picked out some sequins from my stash and used Ranger Multi Medium Matte adhesive. Found a bit of twine that matched and tied a bow on the handle.

Hope you're enjoying the hop! I'm certain you're finding lots of inspiration.  

Happy Crafting!


So, on to my second post for the hop.


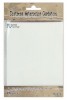
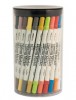
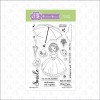
This little girl is so adorable! So...I stamped her out on some patterned paper. I then fussy cut the dress bottom and the bodice area. I had already stamped her on a piece of Tim Holtz Watercolor paper. I glued the dress parts into place. I then used my Distress markers to color the remaining areas.


I did the same thing with the umbrella. I added some liquid glue behind her head and secured in place.
I used a die from Pretty Pink Posh and cut it from the same white watercolor paper and another one from Bristol smooth paper. I used my Distress Oxide ink and blended the inner part. I spritzed with a bit of water and blotted it off. Gives a nice spattered look. I added it back into the frame and taped in place on the back side.

I stamped out the sentiment on a tiny flag banner and added it with foam tape as well. I pulled out my Viva Decor Glass Effect Gel in Crystal Clear and scattered rain drops all around on the background.
I also took a fine tipped glue pen and applied it around her hem, the trim, and her hair bow. Popped her up on foam tape and attached to the card front. 

You next stop on the hop is:
Enjoy the hop and I hope you get a lot of fun ideas. Leave your comments on each blog, you might win!
Happy Crafting
  

Tuesday, April 11, 2017

Somebunny loves you...

Hey guys, thanks for coming by today. I have two cards for you. Well, one is already made into a card and the other is ready and waiting.


I got out my Distress Inks and created a watercolor piece, a full A2 size. I took my time, drying in between and layering up the color. For once it came out good!
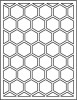
Then...I grabbed a hexagon die plate from Papertrey Ink and cut into the entire piece!!!
I was shaking in my boots, lol. 
I then carefully pressed a piece of Glad Press n Seal over it and it contained it all. I turned it over and pulled away the frame part. Careful, you want all the hexagon pieces to stay in place. I replace that frame with another one I cut out of black. Press it in place so all fits together nicely. I then applied a piece of StickIt the same size. Burnish down really well. I pulled off the backer and then laid down another piece of black cardstock the same size and burnished it really well. Now every little piece is contained and none will come out. I repeated the same process with the other frame and all the other hexagon bits. It was easy to put it all back together, just took a few minutes. And now I have two card fronts to use. 


And there you have it! Isn't it pretty? 

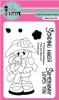
The image I used on the card is from Pink and Main. I colored it using my Distress markers and a water brush. I fussy cut the image and attached with foam squares. 
The sentiment from the set was stamped in Versamark ink and heat embossed with white embossing powder. I folded the banner around to the back and secured with tape. And the image was attached over that. 


I added some white dots to her hat and bloomers with white Gesso. I also brushed on some Wink of Stella in clear over her top and the flower on her hat. I tied a bow on her pig tail and then scattered around some misc enamel bits.
So, there you have it. This was really fun to create and I am certain I will do more like this.
Get out your supplies and have some crafty fun.
Come back any time!
Happy Crafting

Saturday, April 8, 2017

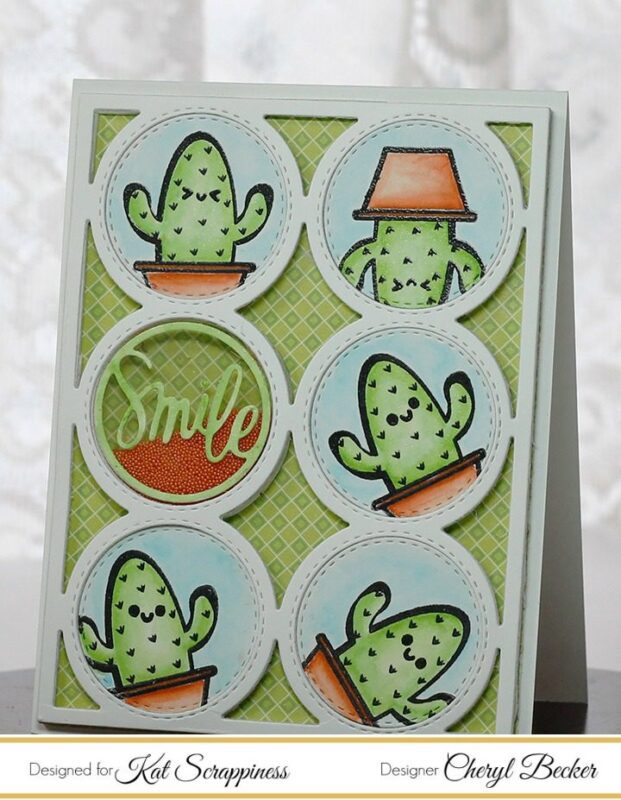
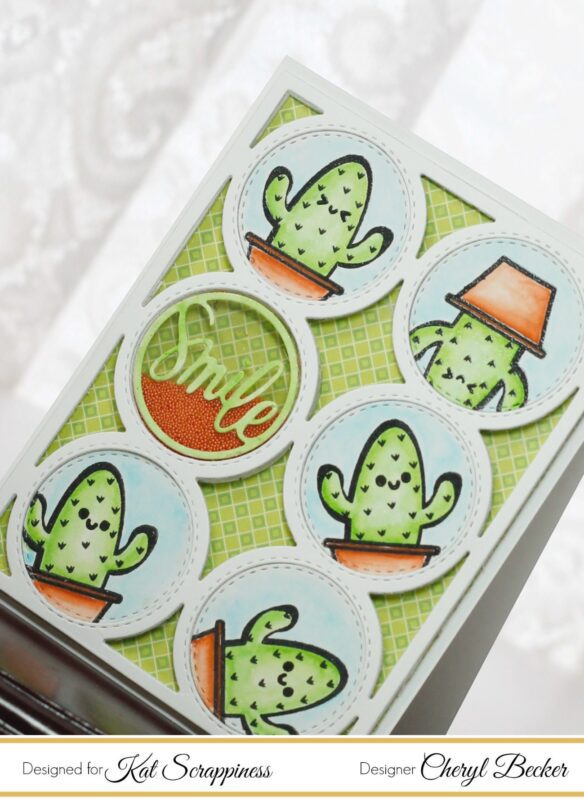
Smile....cacti style....

Hi guys, Cheryl here with another DT project for KatScrappiness. I first struggled with this stamp set, as I generally don't do cards like that, lol. But, that cactus is so darn cute, I was determined to make a cute card. So, that's what I did!


I used a Gina Marie Designs die for the main card front. I love how you can have all these circles cut out and make a super cute collage type card. I had more fun stamping these out, and coloring with my Distress markers. I have been neglecting them and forgot how I was able to get a nice look with little effort. And the Ranger watercolor paper is amazing with them!
I cut several of the circle frame die and glued them all together. Probably 5-6 of them. Depends how deep you want your shaker well. I then added a piece of acetate to the back side with very sticky tape.
On all the little circles, I stamped the adorable cactus in different positions. Then I colored them with Distress makers and did a light sky as well. I could then pop them into the circles positioned as I wanted them.
I die cut a sentiment from my stash and used strong liquid adhesive and glued it to the acetate window. I turned the front panel over and filled the well with micro beads in a bright orange. I then attached a designer paper onto the back, encasing the beads. Popped it onto an A2 card base using foam tape.


I grabbed my glitter brush and brushed it over the cacti for some super fun sparkle. This card was so fun and I loved it as it is and felt it needed no other bling. To me it would be distracting.
So, there you have it. Super fun, super cute! Check your stash and see what little images you may have that would work for this.
Happy Crafting!
Save
https://static.inlinkz.com/ppr.js

Monday, April 3, 2017

Some Bunny Is...

...thinking about you

Here today with a card showcasing some items from the KatScrappiness store. A great resource for all your crafting needs!

I used a Gerda Steiner stamp set and stamped out a background. I used one of the cute bunny heads and then watercolored them in different Spring colors. I cut a piece of green using one of KS Fancy Scalloped Stitched Rectangle dies. Then I used a rectangle from Hero Arts to cut the center out and make it a frame.
 I then cut the watercolored piece the same and put it in the frame and taped together on the back side.


I stamped and watercolored the wood fence. And a different bunny head. I felt it a bit busy over the background so I added a piece of vellum to diffuse it a bit. Then I added the fence using foam tape for dimension.


I tucked in a few Easter egg sequins, also from KS. I stamped out the sentiment and cut a flag end. Mounted it using some foam tape. The entire card front was mounted to a green A2 card base. 

Hope you got some inspiration today. Head over to the KS Store and get some fun Easter supplies, you still have time!


Sunday, March 26, 2017

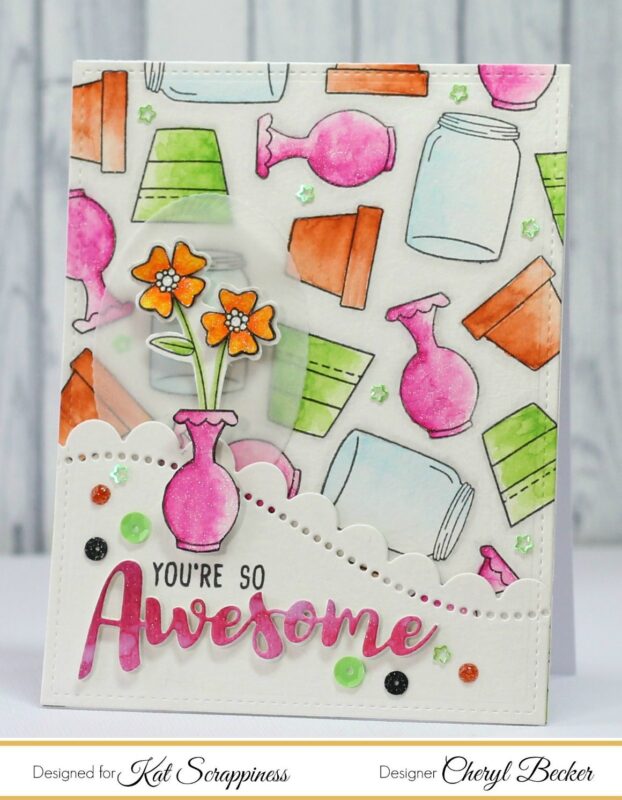
You Are Awesome...

Hey everyone, Cheryl here with a new Design Team post. Thanks for coming by.
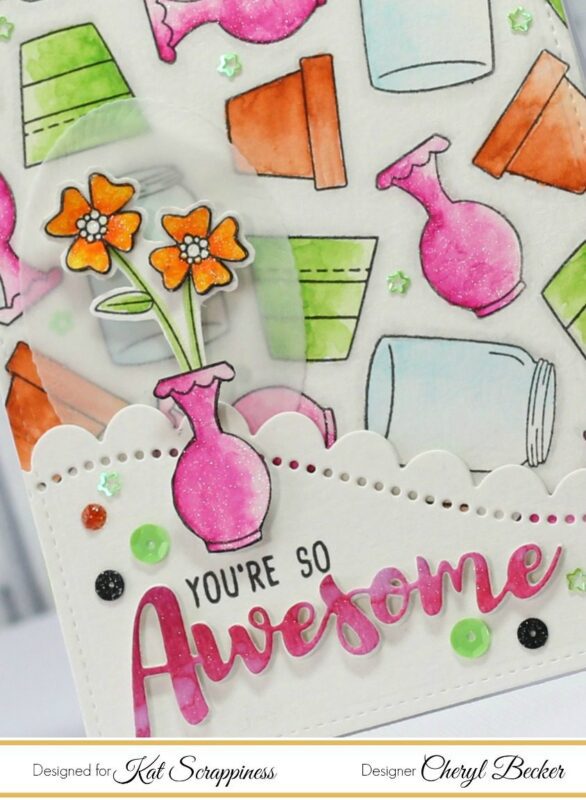
For this project, I pulled out some watercolor paper and my Zig Clean Color Real Brush Markers. I stamped all the different vases from a Newton's Nook stamp set called Versatile Vases. I chose some super fun, bright colors...I'm ready for Spring! I adhered the full piece to an A2 card base. I then used a scrap piece of paper and made a watercolored area big enough for my word die and cut it out.

I  stamped out one of the floral stems and colored it bright orange and another vase in bright pink. I fussy cut them out. To add a bit of a backer behind the flowers, I cut an oval from vellum using a KS Embossed Large Rope Nested Die. I then added the elements with a bit of foam tape.

I added some KS Sequins and brushed on a bit of shimmer pen over the vase and flowers. I stamped "You're So" from Kindness stamp set by Honey Bee Stamps and added several layers of the die cut word Awesome...to add dimension.
I hope you enjoyed my card and got a bit of inspiration.

Happy Crafting!


Tuesday, March 21, 2017

Thinking of you...

Hey all! Welcome to my blog for a post showcasing a stamp set from Fleurette's latest release. Love this floral image! So nice for coloring in any medium of your choice.


 I used my Zig markers to color this image. I have good days and bad days with those, lol, and this happened to turn out pretty decent. I fussy cut the image out and used foam dimensionals to lift it off the card front. I used a die I have to cut the frame in the front and added acetate to make a shaker card. I cut another piece out of gold shiny cardstock. Filled it with seed beads and added the back piece of cardstock. 

I stamped the sentiment in Versafine Black Onyx ink and snipped a banner end. Added it to the front of the shaker. This whole piece was then added to the card front and some sequins scattered around to finish it off.

Here's where to get your stamping supplies.


Saturday, March 4, 2017

What's Shakin...

Hey guys, thanks for coming by! I have a card today featuring a new stamp release by FBStamps.
Hope you enjoy! Let's get to it.

I started out by stamping several of the pigs in the stamp set and used my Pearless Watercolors. I then fussy cut right along the stamp line. Didn't want any white showing.
I then chose patterned papers I wanted to use from a Doodlebug paper pad. I found coordinating color cardstock from my stash and used some edge dies to fancy it up.
I glued down the first two piggy butts, lol, flat to the paper. I then used an Action Wobbler under the last piggy. So fun to see him shakin' his bacon, lol!


I layered up all the papers and added it to an A2 card base. Added some Nuvo enamel dots and some sequins.

So there you go, easy really! You really need to go check out the new release over at FBStamps. Such cute stuff. And while you're there, look at all the past releases too.

Here's your shopping list.

Ok, so get out your supplies and have some fun crafting!